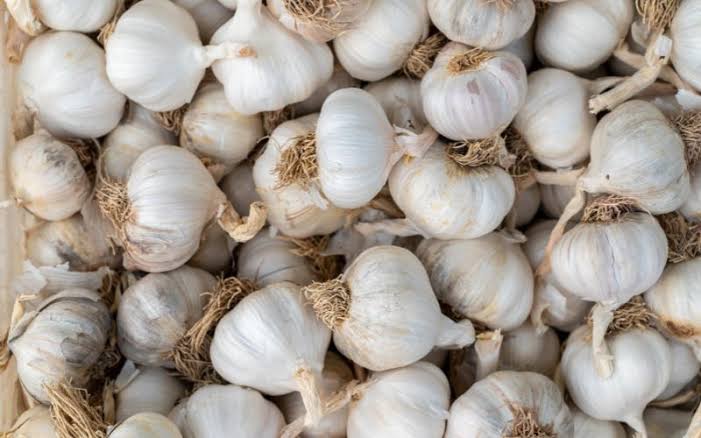
Preparing Land for Garlic Farming

Are you in need of in-depth knowledge on onion and garlic production? If yes, we are a call away. Our service chatter includes: Onion seedlings, Garlic seedlings, Farm planning services, Soil testing, Drip irrigation installation and maintenance, Agronomic support, Onion and Garlic value pack and Farm management. For free consultation, placing orders or booking a visit with an agronomist, please contact us via Call or what’s app +254703982228, Email: Info@oniondoctor.co.ke.
Garlic farming is a lucrative business that requires proper land preparation to achieve maximum yields. If you’re planning to venture into garlic farming, you need to understand the right techniques of preparing land to ensure your crop grows healthy and disease-free. In this guide, we will provide you with a step-by-step approach on how to prepare land for garlic farming in Kenya.
Step 1: Soil Testing: The first step in preparing land for garlic farming is to conduct a soil test. This will help you determine the soil type, pH level, nutrient content, and other factors that could affect the growth of your garlic crop. To conduct a soil test, technician should collect a sample of soil from different areas of your land and send it to a soil testing laboratory for analysis. The results of the soil test will guide you in determining the right type and amount of fertilizer to use on your farm. That's where we Onion Doctor comes in with our services, that are high-quality for soil testing and on top of that we train and guide you on which is the best fertilizer to use for a high yield harvest.
Step 2: Land Clearing: Clear the land of any debris, weeds, or other plants that could hinder the growth of garlic. Use a hoe or a tractor to clear the land. Do you need guidelines and trainings from professionals on hacks on how to clear your land? Look no further, we Onion Doctor are at your service, we offer on farm trainings on how to prep the land for garlic farming. At a very competitive price you will get more information and help you need.
Step 3: Tilling: Tilling is the process of breaking up the soil to create a suitable seedbed for your garlic crop. Use a plow, disc harrow, or cultivator to till the land to a depth of at least 15 cm. This will help to aerate the soil and create a loose seedbed that allows for easy penetration of roots.
Step 4: Leveling: After tilling, level the land to ensure that it’s flat and even. This will help to prevent waterlogging and ensure that the garlic plants receive an even distribution of water and nutrients.
Step 5: Applying Fertilizer: After leveling, apply the recommended amount of fertilizer to the soil based on the soil test results. Garlic requires nitrogen, phosphorus, and potassium for healthy growth. Therefore, use a fertilizer that contains these nutrients in the right amounts. Avoid using too much fertilizer as this could lead to the burning of the garlic bulbs.
Step 6: Mulching: Mulching involves covering the soil with organic materials such as leaves, grass, or straw. Mulching helps to conserve soil moisture, suppress weed growth, and prevent soil erosion. Spread a layer of mulch about 5 cm thick over the soil.
Step 7: Planting: Finally, it’s time to plant your garlic crop. Plant the garlic cloves about 2 cm deep and 10 cm apart. Cover the cloves with soil and water the soil gently. Ensure that the soil is moist but not waterlogged.
Onion Doctor supports small holder farmers across Africa with quality and affordable Onion and Garlic seedlings, Onion seedlings, Farm planning services, Soil testing, Drip irrigation installation and maintenance, Agronomic support, Onion and Garlic value pack, Farm management, E-extension and on-farm training for farmers to optimize on yields and get maximum profits.
