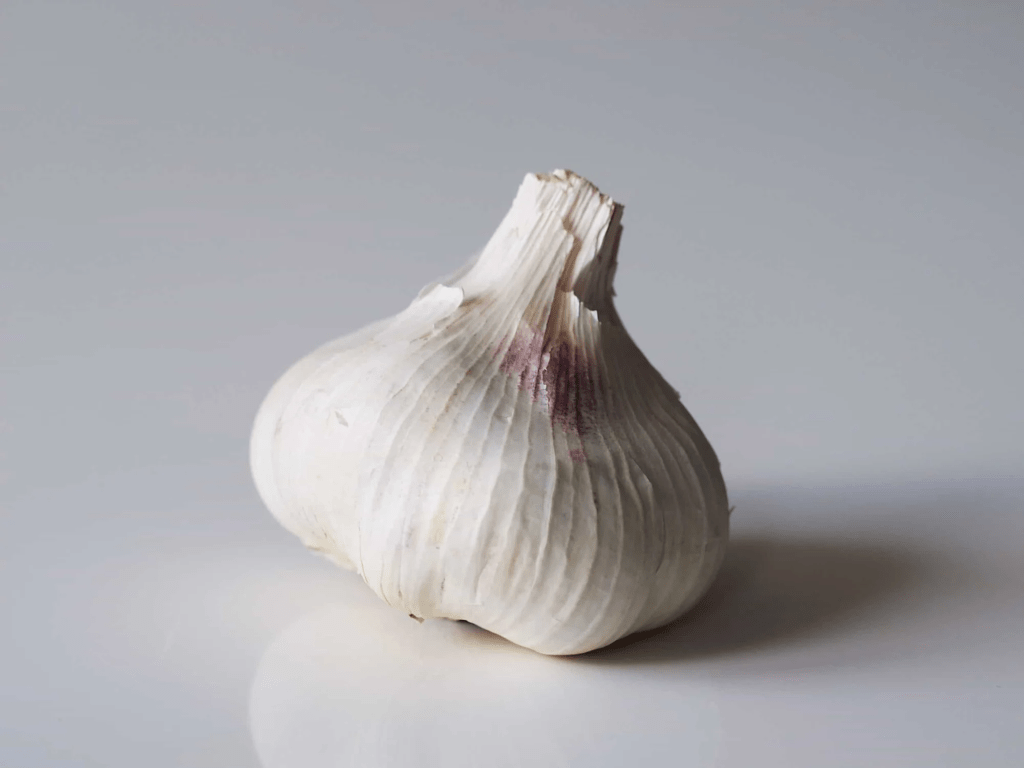
Garlic farming is a rewarding venture, offering the chance to grow a flavorful, versatile crop that’s in high demand. Whether you’re a homesteader, a small-scale farmer, or simply a gardening enthusiast, garlic is a fantastic crop to cultivate. However, beginners often make avoidable mistakes that can lead to poor yields, unhealthy plants, or wasted effort. In this ultimate guide, we’ll explore the most common garlic farming mistakes and provide actionable tips to ensure your garlic thrives .Garlic (Allium sativum) is a low-maintenance, high-value crop with a long shelf life, making it ideal for beginners and seasoned farmers alike. It’s used in cuisines worldwide, has medicinal properties, and can be grown in various climates. But to succeed, you need to avoid pitfalls that can derail your efforts. Let’s dive into the top garlic farming mistakes and how to steer clear of them.

COMMON MISTAKES IN GARLIC FARMING
MISTAKE#1: CHOOSING THE WRONG GARLIC VARIETIES
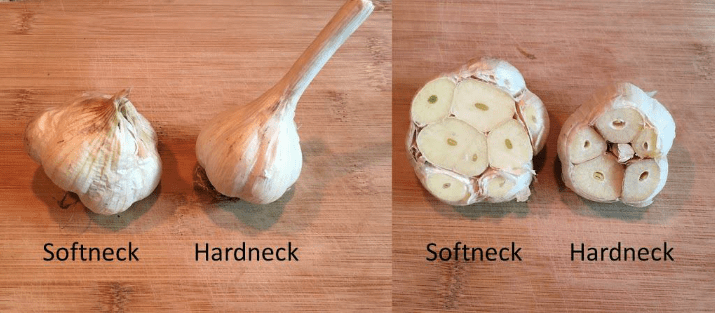
One of the biggest mistakes beginners make is selecting the wrong garlic variety for their climate or soil. Garlic comes in two main types: hardneck and softneck. Each has unique characteristics, and choosing the wrong one can lead to disappointing results.
- Hardneck Garlic: Best for colder climates (USDA Zones 3–6). It produces scapes (edible flower stalks) and has larger, easier-to-peel cloves but a shorter shelf life.
- Softneck Garlic: Ideal for warmer climates (USDA Zones 7–10). It stores longer and is commonly found in grocery stores.
HOW TO AVOID THIS MISTAKE
- Research your USDA Hardiness Zone and select a variety suited to your climate. Hardneck varieties for cold regions, while Softneck for warmer areas.
- Buy certified disease-free garlic bulbs from reputable suppliers like Onion Doctor, not grocery store garlic, which may be treated to prevent sprouting.
- Experiment with a few varieties to see what grows best in your soil.
Pro Tip: Contact your local agricultural extension office for recommendations on garlic varieties that thrive in your region.
MISTAKE#2:PLANTING AT THE WRONG TIME:
Timing is critical in garlic farming. Planting too early or too late can result in weak plants or small bulbs. Garlic needs a period of cold (vernalization) to form bulbs properly, especially for Hardneck varieties.
- Planting Too Early: In warm climates, early planting can cause garlic to sprout prematurely, leading to weak plants.
- Planting Too Late: Late planting may not give garlic enough time to establish roots.
HOW TO AVOID THIS MISTAKE
- Fall Planting: In most regions, plant garlic in the fall (September to November) to allow roots to develop.
- Spring Planting: In very cold climates, you can plant in early spring, but fall planting generally yields larger bulbs.
- Check local planting calendars or consult with nearby farmers to pinpoint the best planting window.
Pro Tip: Plant garlic 4–6 weeks before the ground freezes in colder climates or when soil temperatures drop below 60°F (15°C).
MISTAKE#3:POOR SOIL PREPARATION:
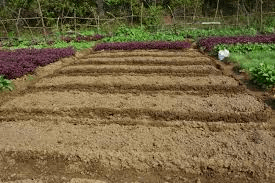
Garlic thrives in well-drained, fertile soil, but beginners often neglect soil preparation. Heavy clay soils, compacted ground, or nutrient-deficient soil can stunt garlic growth and reduce bulb size.
HOW TO AVOID THIS MISTAKE:
- Test Your Soil: Use a soil test kit to check pH and nutrient levels. Garlic prefers a pH of 6.0–7.0.
- Amend the Soil: Add organic matter like compost or well-rotted manure to improve drainage and fertility. Avoid fresh manure, which can burn plants.
- Loosen the Soil: Till or dig the soil to a depth of 8–12 inches to promote root growth.
- Avoid Over-Fertilizing: Too much nitrogen can lead to lush foliage but small bulbs. Use a balanced fertilizer (e.g., 10-10-10) or one high in phosphorus and potassium.
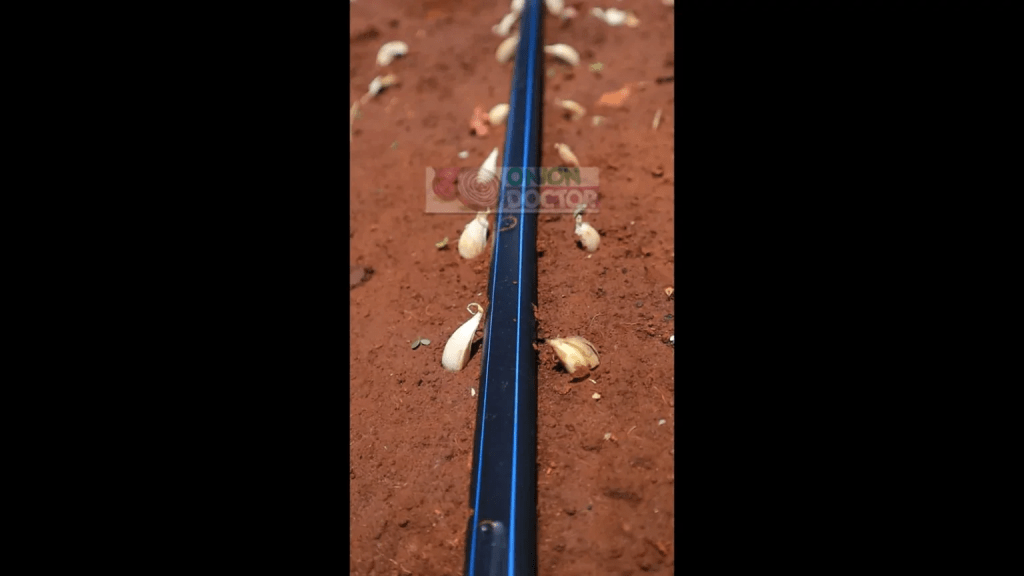
MISTAKE#4: INCORRECT PLANTING DEPTH AND SPACING:
Planting garlic too shallow, too deep, or too close together can hinder growth. Improper planting depth affects bulb development, while tight spacing leads to competition for nutrients.
HOW TO AVOID THIS MISTAKE:
- Planting Depth: Plant cloves 2–3 inches deep, pointed end up, to protect them from frost and ensure proper rooting.
- Spacing: Space cloves 4–6 inches apart in rows 12–18 inches apart to allow room for bulb expansion.
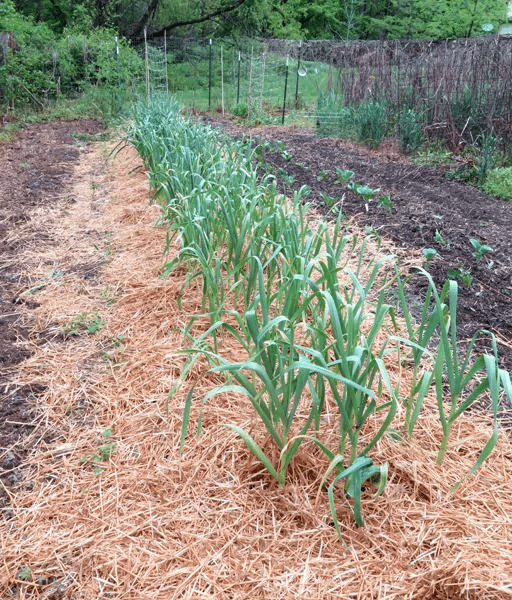
- Mulching: Cover planted garlic with 4–6 inches of straw or shredded leaves to insulate against cold and suppress weeds.
Pro Tip: Use a dibber or your finger to create uniform planting holes for consistent depth.
MISTAKE#5: NEGLECTING WATERING NEEDS:
Garlic needs consistent moisture, especially during the growing season, but overwatering or underwatering can cause problems. Too much water leads to rot, while too little stunts growth.
HOW TO AVOID THIS MISTAKE:
- Watering Schedule: Provide 1 inch of water per week during active growth (spring and early summer). Reduce watering as harvest approaches to prevent bulb rot.
- Drainage: Ensure your soil drains well to avoid waterlogging, which can cause fungal diseases like white rot.
- Monitor Weather: Adjust watering based on rainfall. In dry climates, consider drip irrigation for efficient water delivery.
MISTAKE#6: IGNORING PESTS AND DISEASES:
Beginners often overlook pests and diseases, which can devastate garlic crops. Common issues include onion maggots, thrips, and fungal diseases like white rot or fusarium.
HOW TO AVOID THIS MISTAKE:
- Crop Rotation: Rotate garlic with non-allium crops (e.g., beans or lettuce) every 3–4 years to prevent soil-borne diseases.
- Inspect Plants: Regularly check for signs of pests or disease, such as yellowing leaves or stunted growth.
- Use Organic Controls: Apply neem oil or insecticidal soap for pests like thrips. For fungal issues, ensure proper soil drainage and avoid overhead watering.
- Plant Disease-Free Cloves: Always start with healthy, certified seed garlic to minimize disease risk.
Pro Tip: Companion planting with marigolds or chives can deter pests naturally.
MISTAKE#7: HARVESTING AT THE WRONG TIME:
Harvesting garlic too early or too late affects bulb quality and storage life. Beginners often misjudge when garlic is ready, resulting in small, underdeveloped bulbs or overmature ones that split.
HOW TO AVOID THIS MISTAKE:
- Check the Leaves: Harvest when the bottom 3–4 leaves are brown, and the top 5–6 leaves are still green (typically late spring to early summer).
- Test Dig: Dig up one bulb to check size and wrapper integrity. Mature bulbs have tight, intact skins.
- Avoid Delays: Harvest promptly to prevent bulbs from splitting or rotting in wet soil.
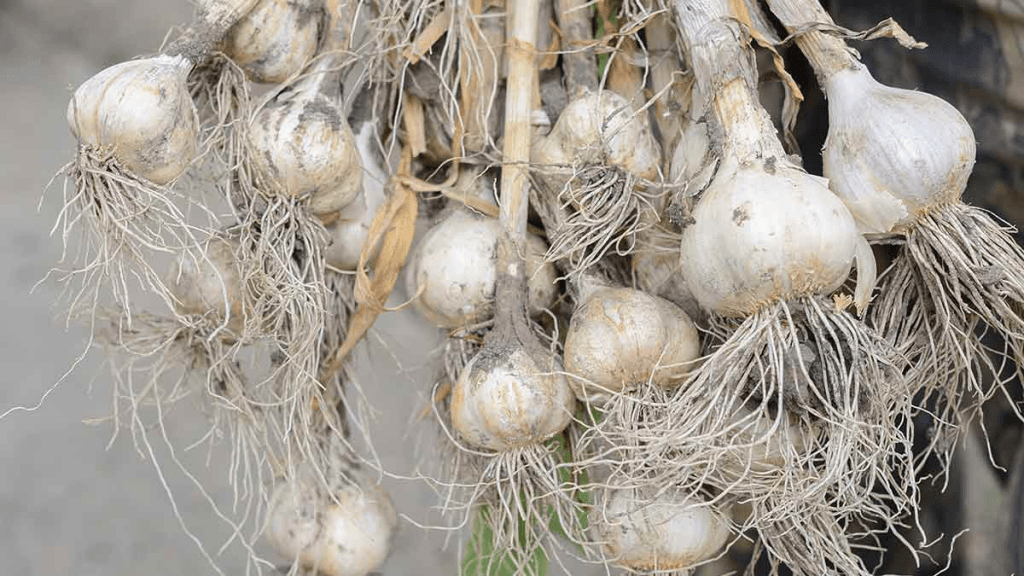
MISTAKE#8: IMPROPER CURING AND STORAGE:
After harvesting, improper curing or storage can ruin your garlic crop. Inadequate curing leads to mold, while poor storage conditions reduce shelf life.
HOW TO AVOID THIS MISTAKE:
- Curing: Hang garlic in a well-ventilated, dry, shaded area for 2–4 weeks until the outer skins are papery.
- Cleaning: Trim roots and cut stems to 1 inch after curing, but don’t remove the protective wrappers.
- Storage: Store garlic in a cool (50–60°F), dry place with good air circulation. Softneck garlic can last 6–12 months; hardneck lasts 3–6 months.
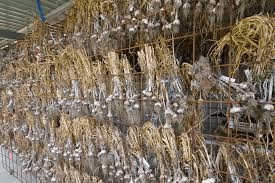
Pro Tip: Use mesh bags or braids for softneck garlic to enhance storage and aesthetics.
Contact us for: Onion seedlings, Garlic seedlings, Germinated garlic cloves, Farm planning services, Soil testing, training on onion and garlic growing, Drip irrigation installation and maintenance, Agronomic support, Onion and Garlic value pack and Farm management. For free consultation, placing orders or booking a visit with an agronomist, please contact us via Call or what’s app +254703982228, Email: Info@oniondoctor.co.ke. You can also check out our social media handles for daily updates on TikTok: https://www.tiktok.com/@oniondoctorke?_t=ZM-8wmsTu0qumO&_r=1 Instagram: https://www.instagram.com/oniondoctorke?igsh=MTVoaHF3aWUydTJzaQ==Facebook:https://www.facebook.com/share/16SwgYn2dG/ Youtube:https://youtube.com/@oniondoctorke?si=u5Jnd-r0qU9UDYqL and Twitter: https://x.com/OnionDoctorKe?t=FR3JXlS_oN1vjjUgAtfyzg&s=09