
Here’s a truth most experienced onion farmers in Kenya will tell you: You can recover from poor weeding. You can recover from late fertilizer application. But you almost never recover from poor land preparation. Onions are notoriously sensitive to soil conditions. Their shallow, fibrous root systems demand a fine, well-drained, and nutrient-rich seedbed. Compacted soil? Stunted bulbs. Waterlogged fields? Root rot and total crop failure. Weedy plots? You’ll be fighting a losing battle for months. In Kenya’s diverse agro-ecological zones from the highlands of Timau to the warmer lowlands of Kajiado land preparation isn’t a one-size-fits-all process. But the principles remain universal: create a loose, fertile, weed-free, and well-drained growing medium.
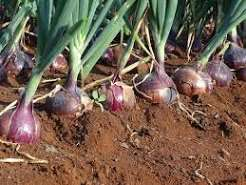
Understanding Onion Requirements in the Kenyan Context {#onion-requirements-kenya}:
Before you touch a jembe or hire a tractor, understand what onions actually need from your soil:
| Requirement | Ideal Range | Why It Matters |
|---|---|---|
| Soil pH | 6.0 – 6.8 | Outside this range, nutrient lock-up occurs |
| Soil Texture | Sandy loam to loam | Ensures drainage while retaining moisture |
| Soil Depth | At least 30 cm | Accommodates shallow but spreading roots |
| Drainage | Excellent | Prevents fungal diseases and bulb rot |
| Organic Matter | 2-5% | Feeds soil biology and improves structure |
| Flatness | Gentle slope or level | Prevents erosion and ensures uniform irrigation |
Popular Onion Varieties in Kenya:
- Red Coach F1: The market favorite; pungent, excellent storage
- Neptune F1: High yielder; popular for fresh market
- African Red: Large bulbs; good for export markets
- Texas Grano: Sweet variety; growing demand in urban markets
Step 1: Site Selection: Location is Everything:
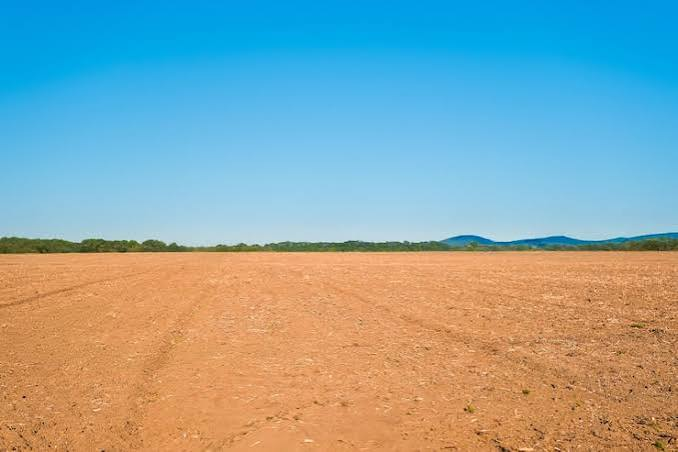
- Topography: Choose gently sloping land or flat terrain. Steep slopes in places like Machakos or parts of the Rift Valley will cause erosion and uneven water distribution. If your land slopes, prepare contour ridges or terraces.
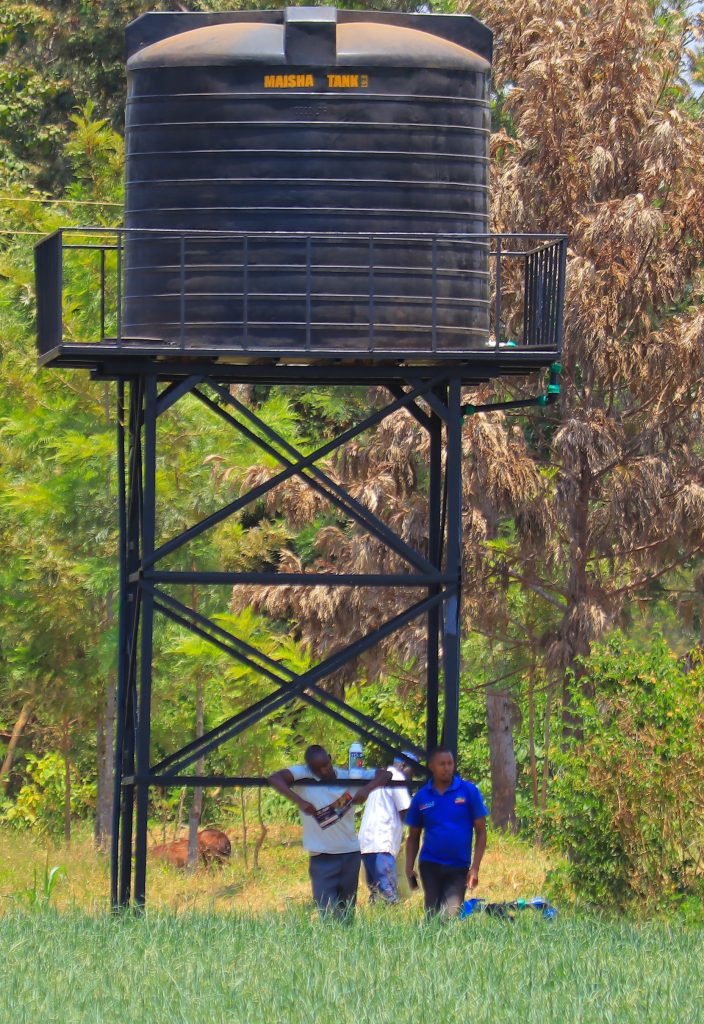
2. Water Access: Onions need consistent moisture especially during bulb formation. Your site should be within practical distance of a reliable water source: river, borehole, dam, or piped irrigation. In arid areas like Kajiado or parts of Kitui, water security is your #1 consideration.
3. Previous Crop History: Avoid fields that recently hosted:
- Other alliums (garlic, leeks, chives) disease carryover risk
- Tomatoes, peppers, or potatoes shared pests and diseases
- Fields with persistent weeds like Cyperus rotundus (nutgrass)
Ideal preceding crops: Maize, beans, cowpeas, or pasture. These break disease cycles and improve soil structure.
4. Accessibility:Your land needs to be accessible for inputs (fertilizer, manure) and outputs (harvested onions). A field 10 km from the nearest motorable road might look cheap, but transport costs will eat your profits.
Step 2: Soil Testing: Know Before You Grow:
This is the step 80% of Kenyan farmers skip and it’s costing them millions in lost yields.
Why Soil Testing Matters:
A soil test tells you:
- Your exact pH level
- Available nitrogen, phosphorus, and potassium
- Micronutrient deficiencies (zinc, boron, sulfur—critical for onions!)
- Organic matter content
- Soil texture classification
How to Collect a Soil Sample:
- Divide your field into uniform sections
- Walk in a zigzag pattern across each section
- Dig to 20-25 cm depth at 15-20 random points per section
- Mix all samples thoroughly in a clean bucket
- Take 500g of the mixed sample and place in a clean bag
- Label clearly with your name, location, date, and crop intended
Onion Doctor offers soil testing services for an affordable price of Ksh 5,000.
Interpreting Your Results:
| Parameter | Action Required if Outside Range |
|---|---|
| pH < 6.0 | Apply agricultural lime (dolomitic) |
| pH > 7.0 | Apply elemental sulfur or compost |
| Low Phosphorus | Apply DAP or TSP during planting |
| Low Potassium | Apply KCl or wood ash |
| Low Organic Matter | Incorporate well-rotted manure or compost |
Step 3: Land Clearing and Primary Tillage:
Now the real work begins. Primary tillage is about breaking up the soil and burying crop residues.
Timing:
Start land preparation 6-8 weeks before your intended planting date. This gives time for weeds to germinate and be eliminated, and for soil amendments to integrate.
Clearing the Land:
Manual Clearing (Small-scale, < 1 acre)
- Cut and remove all vegetation
- Uproot perennial weeds completely
- Remove tree stumps and large stones
- Stack crop residues for composting (don’t burn!)
Mechanical Clearing (Medium to Large-scale)
- Use a tractor-mounted slasher or brush cutter
- Follow with a plow to turn under remaining vegetation
- Remove large debris that could damage implements
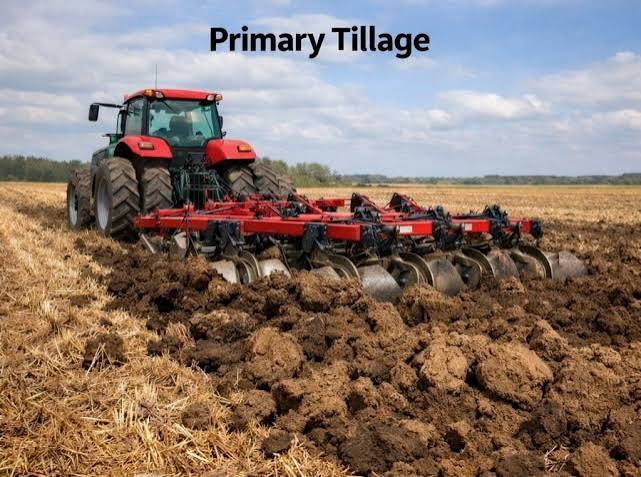
Primary Tillage: Plowing:
Objective: Break the soil to 25-30 cm depth, invert the soil profile, and bury organic matter.
- For smallholders: Use an ox-plow or hire a tractor. Plow when soil moisture is right not too wet, not too dry. The ideal test: squeeze a handful of soil. If it crumbles when poked, it’s perfect. If it forms a sticky ball, wait.
- For commercial farmers: Use a moldboard or disc plow. Disc plows handle sticky soils better; moldboard plows give cleaner inversion.
- Key tip: Plow across the slope, not up and down, to reduce erosion.
Secondary Tillage: Harrowing:
After plowing, allow the soil to settle for 1-2 weeks (this also lets weed seeds germinate). Then harrow:
- First harrowing: Breaks clods, levels the field
- Second harrowing: Further refines soil texture
- Third harrowing (optional): Creates a fine tilth for direct seeding or transplanting
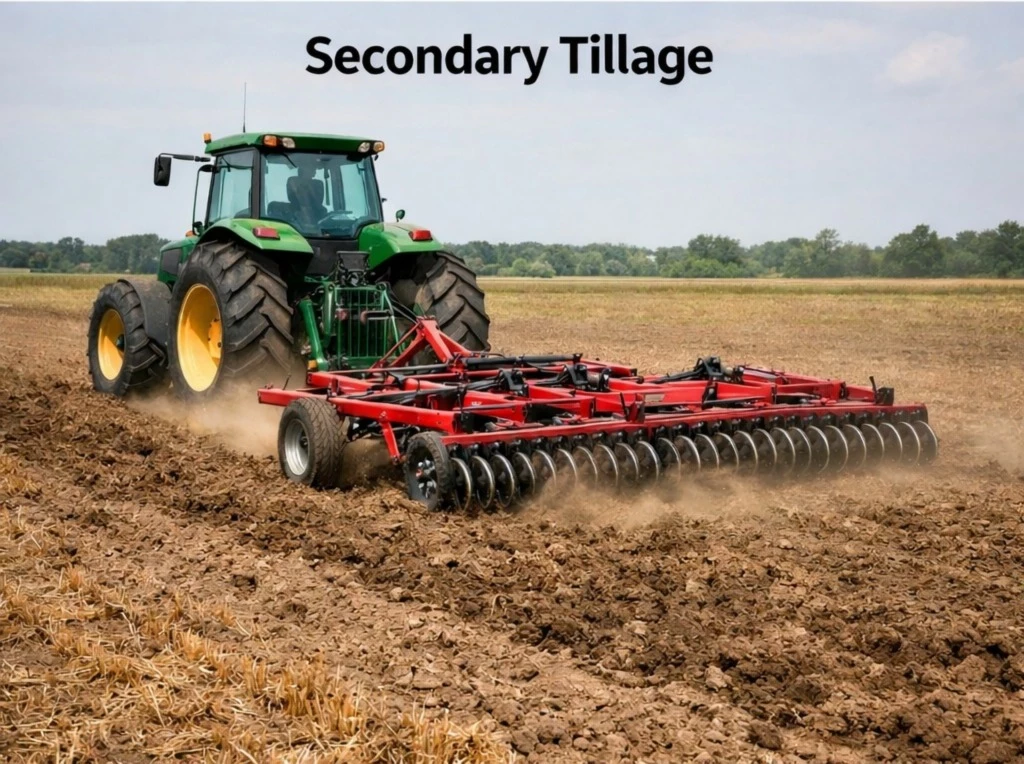
For onions, you want a fine, powdery seedbed large clods will deform bulbs and create pockets where water accumulates.
Step 4: Soil Amendment and pH Correction:
This is where science meets sweat. Based on your soil test, amend your soil.
Adjusting Soil pH:
If pH is too low (acidic, common in high-rainfall areas like Kericho or parts of Central Kenya):
- Apply agricultural lime (calcium carbonate or dolomitic lime). The amount depends on your soil test
If pH is too high (alkaline, common in semi-arid areas):
- Apply elemental sulfur or incorporate plenty of organic matter (compost, manure). Sulfur-oxidizing bacteria slowly produce sulfuric acid, lowering pH. This is a slower process plan 2-3 months ahead.
Adding Organic Matter:
Well-decomposed organic matter is the secret weapon of successful onion farmers:
Composted Manure:
- Cattle, poultry, or goat manure must be fully composted (6+ months old)
- Fresh manure will burn seedlings and introduce weed seeds
- Apply 10-20 tons per acre
- Spread evenly and incorporate during final harrowing
Compost:
- If you have access to quality compost, apply based on soil analysis recommendation.
- Compost improves soil structure, water retention, and microbial life
Warning: Fresh chicken manure is extremely high in nitrogen and salts. If used fresh, it will “burn” onion seedlings. Always compost it first.
Basal Fertilizer Application:
Based on soil test recommendations, apply basal fertilizer:
Common basal fertilizer for onions in Kenya:
- DAP (Diammonium Phosphate)
- TSP (Triple Super Phosphate) (if soil is already high in nitrogen)
Application method: Broadcast evenly and incorporate into the top 10-15 cm of soil during final harrowing.
Step 5: Bed Preparation and Layout:
Onions perform exceptionally well on raised beds especially in areas with heavy soils or during rainy seasons.
Why Raised Beds?
- Improved drainage: Critical during Kenya’s rainy seasons
- Warmer soil: Earlier planting possible
- Looser soil: Easier bulb expansion
- Reduced compaction: No foot traffic on growing area
- Better weed control: Defined growing space
Bed Formation Process:
- Mark out bed positions using string lines
- Pull soil from walkways onto the bed area using hoes or bed shapers
- Shape beds with a rake or bed former to create a firm but friable surface
- Firm the bed top lightly overly loose soil won’t support transplants well
- Level the bed surface carefully uneven beds lead to uneven irrigation
Step 6: Final Pre-Planting Preparations:
You’re almost ready to plant. These final steps separate good farmers from great ones.
Pre-Planting Irrigation:
If conditions are dry, irrigate the prepared beds 3-5 days before planting. This:
- Settles the soil
- Encourages any remaining weed seeds to germinate
- Ensures adequate moisture for transplanting
After irrigation, allow the surface to dry slightly so you can work the soil without compacting it.
Pre-Emergence Weed Control:
Onions are slow to establish and poor competitors against weeds. A pre-emergence herbicide can save you weeks of hand-weeding.
Final Bed Raking:
Just before planting:
- Lightly rake the bed surface to break any crust
- Remove any large debris or clods
- Create a smooth, fine tilth perfect for transplanting or direct seeding
Are you in need of in-depth knowledge on onion and garlic production? If yes, we are a call away. Contact us for: Onion seedlings, Garlic seedlings, Germinated garlic cloves, Farm planning services, Soil testing, training on onion and garlic growing, Drip irrigation installation and maintenance, Agronomic support, Onion and Garlic value pack and Farm management. For free consultation, placing orders or booking a visit with an agronomist, please contact us via Call or what’s app +254703982228, Email: info@oniondoctor.co.ke You can also check out our social media handles for daily updates on TikTok: https://www.tiktok.com/@oniondoctorke0706252490?_r=1&_t=ZS-96UPUyx6ESL Instagram:https://www.instagram.com/oniondoctorke?igsh=MW5sZzJ6c3BnZ3Z0dw==Facebook:https://www.facebook.com/share/1HouRgLCwS/Twitter:https://x.com/OnionDoctorKe?s=20